PDF Navigation
Use Previous and Next to move between uploaded documents. Changes save automatically.
Remove PDF removes the current file from the processing stack but does not delete it from your hard drive.
The Document Preprocessor automates document renaming using OCR, entity matching, and batch file saving. This introduction covers the common workflows shared across all preprocessing modes.
Steps:
InvoiceProcessor.exe or DocumentPreprocessor.exe)Intranet deployment is still in progress. Check back for updates.
A green Server connection active message under the heading indicates the system can save directly to server folders. If you don’t see this message, files will save locally instead.
Drag PDF or DOCX files into the upload box or click Browse files. Multiple files can be uploaded at once.
After uploading, click Process PDFs to extract data. Processing multiple files will be parsed using multiple threads.
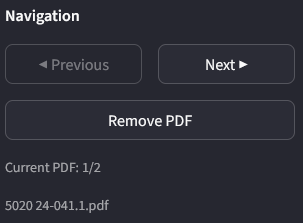
PDF Navigation
Use Previous and Next to move between uploaded documents. Changes save automatically.
Remove PDF removes the current file from the processing stack but does not delete it from your hard drive.
Page Navigation
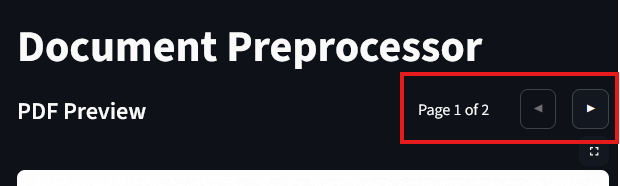
Navigate through pages within multi-page documents using the ◀ and ▶ buttons.
Use this to verify details across multiple pages.
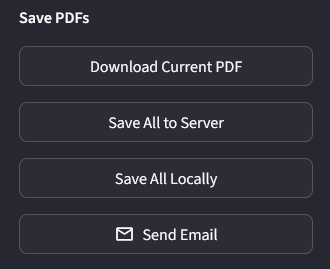
Download Current PDF: Save the currently displayed document with its generated filename to your browser downloads.
Save All to Server: Batch save all processed documents to the server. Location depends on the preprocessing mode and entity configuration.
Save All Locally: Batch save all processed documents to your Documents folder at Documents\renamed_pdfs.
Send Email: Send the current invoice directly to selected recipients.
Send processed invoices directly from the dashboard without leaving the application.
Before sending emails, configure your Microsoft account and signature.
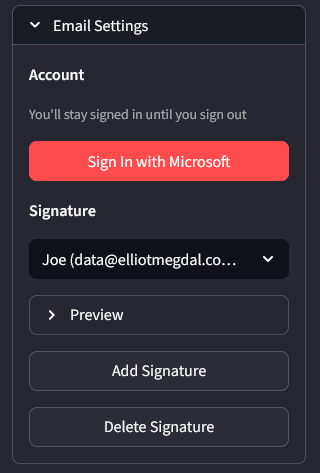
Sign in with Microsoft
Click Sign In with Microsoft in the Email Settings panel. A link will appear—click it to open the Microsoft sign-in page.
Complete authentication
Sign in with your Microsoft account. Copy the code displayed in the sidebar instructions and enter it on the Microsoft page.
Confirm sign-in
Return to the preprocessor and click Signed In on the sidebar to confirm authentication. The status will update to show you’re signed in.
Set up your signature
Select an existing signature from the dropdown (pulled from classic Outlook) or click Add Signature to create a new one. Click Preview to verify your signature appears correctly.
Click Send Email
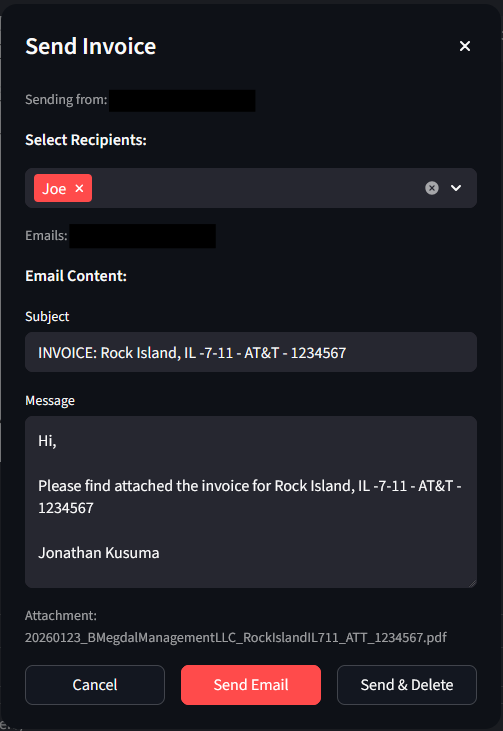
From the Save PDFs panel, click Send Email to open the send dialog.
Select recipients
Choose recipients from the dropdown. Multiple recipients can be selected.
Review content
The subject and message body auto-populate based on the current invoice. Edit if needed.
Send
Click Send Email to send immediately, or Send & Delete to send and remove the invoice from the processing stack. Click Cancel to close without sending.
Click Manual next to any field to override automatic detection. This allows you to enter custom values when the system’s matching is incorrect.
Before processing, verify your entity and vendor database is current. Both entity and vendor records follow the same editing workflow.

Customize the application display and tools from the App Settings panel in the sidebar.
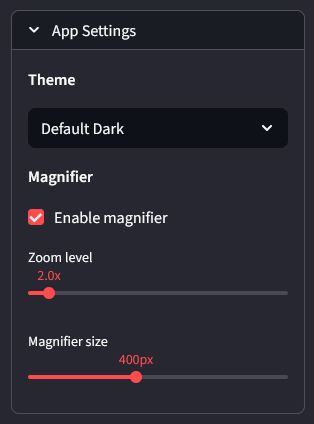
Select Default Dark or other available themes from the dropdown.
Enable the magnifier to zoom in on PDF details while reviewing documents.