Creating Upload Links
Use Egnyte upload links to let external recipients send files directly to a specific folder. Recipients can upload files but cannot see existing folder contents. Links expire automatically for security.
Steps: Create an Upload Link
-
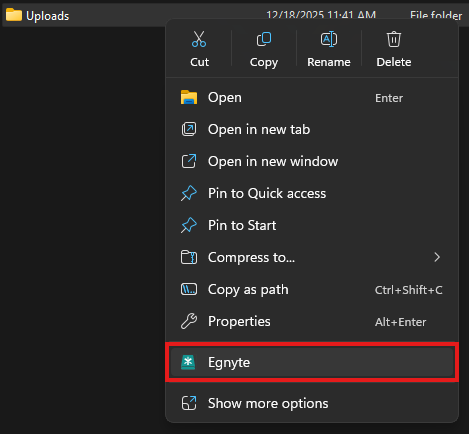
In File Explorer, right-click the target folder and choose Egnyte.
-
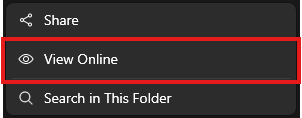
Click View Online to open the folder in your web browser.
-
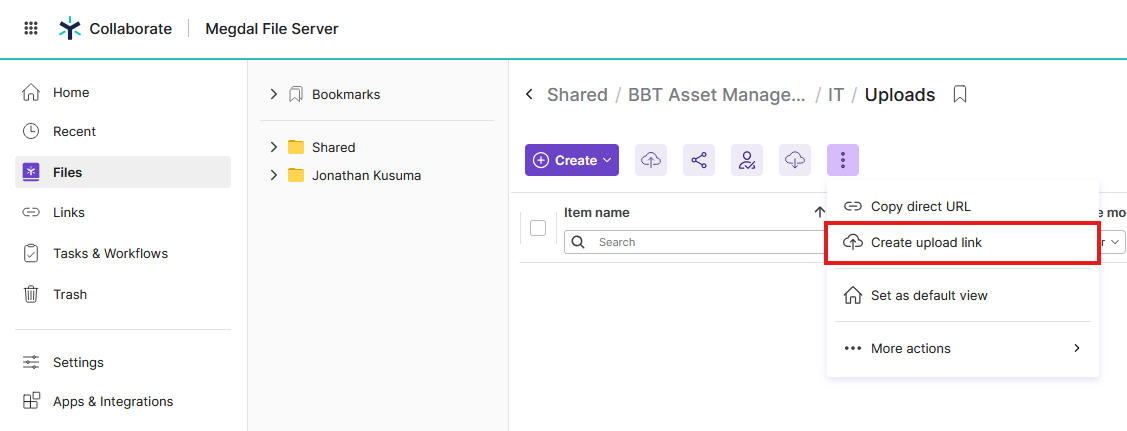
In Egnyte’s web interface, click the three-dot menu (⋮) and select Create upload link.
-
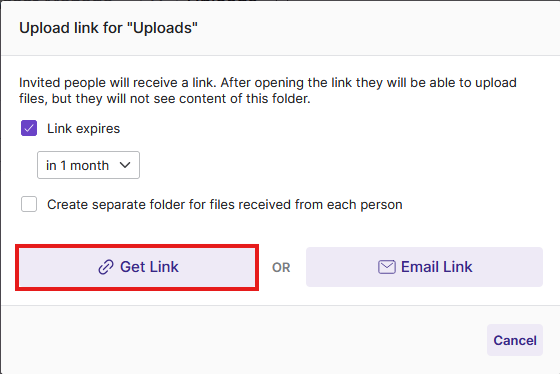
Configure the upload link options:
- Link expires: Keep this enabled and set an appropriate expiration (default: 1 month)
- Create separate folder: Optional—creates a subfolder for each person’s uploads
Click Get Link to copy the link to your clipboard.
-
Paste the link into an email and send to your recipient.
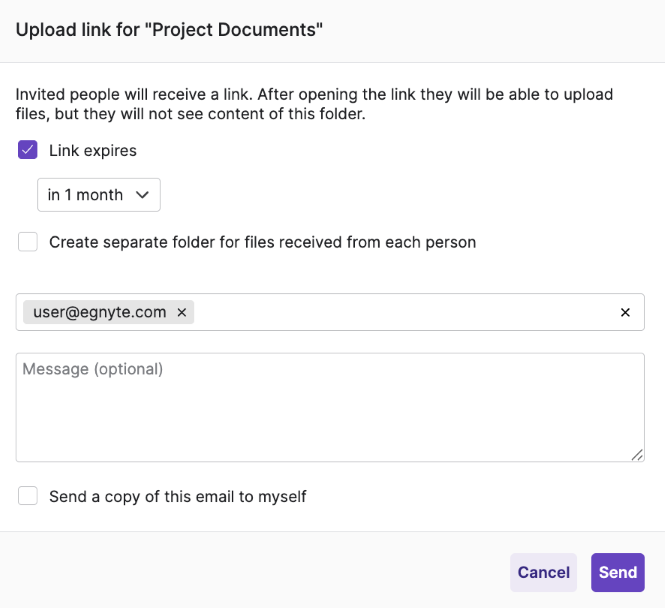
Alternative: Email Link
For sending to a handful of recipients, Email Link is easier. Click Email Link instead of Get Link, enter the email addresses, add an optional message, and click Send.
If you used the Email Link option, the email address field will be greyed out in future edits since the link was already sent.